Showing posts with label my presets. Show all posts
Showing posts with label my presets. Show all posts
Tuesday, August 26, 2014
Wednesday, March 26, 2014
Friday, September 20, 2013
Through the Lensbaby Circle: September
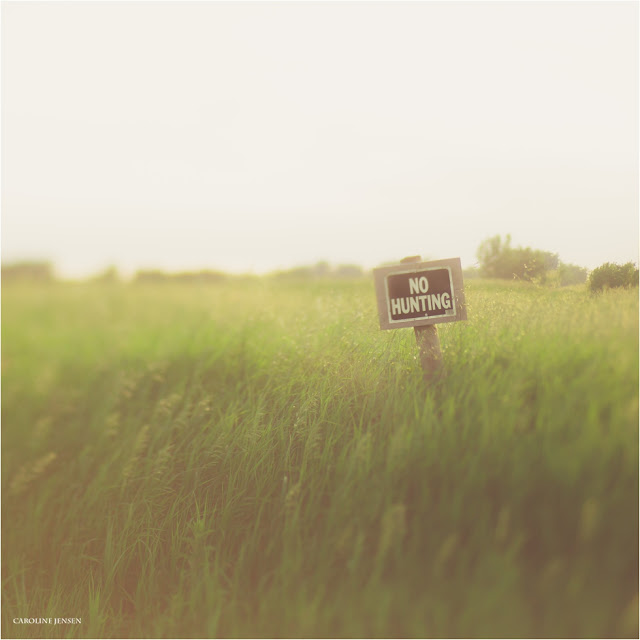
Summer is giving way to fall and evening walks are back in full swing. These images were all taken with the Edge 80. Love that lens! It is my go-to walk around lens these days.
Please continue the circle with my beautiful friend, Celeste.
Please continue the circle with my beautiful friend, Celeste.
Sunday, September 15, 2013
Wednesday, August 7, 2013
Wednesday, July 31, 2013
Tuesday, July 23, 2013
Saturday, July 20, 2013
Through the Lensbaby Circle: July Splashing
I am also a presenter in a Lensbaby Love e-course! You can learn how I get amazing macro flare and learn about using Lensbabies for fine art work and for business sessions!
Please continue our little circle with my good friend, Heather!
Wednesday, June 26, 2013
chatter walk
The music of my life.
Oh, and a few Army cadences thrown in for good measure too.
You would think we were still in the Cold War (giggle).
Monday, April 1, 2013
Before and After: Dreamy Edit
I want to share a tutorial on how I get a dreamy effect using my own Lr presets, some brush work, and Snap Art 3.
This is the final image:
This image was a little too saturated for the look I was trying to create right out of the camera.
Before:
This image isn't horrible, but it has a large blown out area in the front due to the strong sun coming from a window on camera right. I decided to blur this out with a white vignette (yes, I said that!). If you are a member of Clickin Moms, you can see a funny tutorial about what NOT to do with this vignetting option in Lr!
The first thing I did was to run my Love Stands Still Soft Matte Preset in Lr:
This preset created muted tones and softened the blown spots. This preset is available for free to Clickin Moms members in the Pay it Forward section.
Then I did some brush work. I painted some saturation on the lips and some clarity on the eye lashes using the adjustment brush in Lr.
I then brought the image into Snap Art 3 and added an oil painting effect:
Then I brought it back into Lr and warmed it up just a tiny bit, added a bit more contrast, and exported the file.
I finished the edit with a quick soft light layer in PS set to 50% opacity. :)
This is the final image:
This image was a little too saturated for the look I was trying to create right out of the camera.
Before:
This image isn't horrible, but it has a large blown out area in the front due to the strong sun coming from a window on camera right. I decided to blur this out with a white vignette (yes, I said that!). If you are a member of Clickin Moms, you can see a funny tutorial about what NOT to do with this vignetting option in Lr!
The first thing I did was to run my Love Stands Still Soft Matte Preset in Lr:
This preset created muted tones and softened the blown spots. This preset is available for free to Clickin Moms members in the Pay it Forward section.
Then I did some brush work. I painted some saturation on the lips and some clarity on the eye lashes using the adjustment brush in Lr.
I added a wee bit of white vignette to smooth out the sun-washed areas by using the Post Crop Vignetting under "Effects" in Lr.
I then brought the image into Snap Art 3 and added an oil painting effect:
Then I brought it back into Lr and warmed it up just a tiny bit, added a bit more contrast, and exported the file.
Subscribe to:
Posts (Atom)


.jpg)
.jpg)
.jpg)
.jpg)
.jpg)
.jpg)


